The British Imperial War Museum is
actually a set of museums all dealing
with various aspects of 20th century warfare that involved Britain and
the Commonwealth.
The Main Museum is in the old Bedlam insane asylum in south London.
The other locations are
Imperial War Museum Duxford,
the Cabinet War Rooms,
HMS Belfast and
Imperial War Museum North.
This page focuses on the Imperial War Museum North which is located in
Manchester.
The photos were taken by Daniel Boulet on a visit to the Museum
on the 22nd of August, 2002 (the Museum was one day short of a month old).
If you're not actually interested in a museum dedicated
to war then the building itself will make your trip worthwhile.
'I wanted to create a building
that people will find interesting and wish to visit,
yet reflects the serious nature of a war museum.
I have imagined the globe broken into fragments and taken the
pieces to form a building, three shards that together represent
conflict on land, in the air and on water.'
Daniel Libeskind, Architect, 1997
|
Quote from the Museum's entrance lobby.
|
There are two windowless exhibition halls inside the museum occupying roughly the eastern
half of the building (the rest of the space is presumably mostly
storage, research and office space).
The Special Exhibitions Gallery is a large oddly shaped cavern at the north
end of the building.
It was showing a slide show documenting the construction of the museum.
The Main Exhibitions Gallery is a larger and even more oddly shaped cavern
with lots of nooks and cranies.
It contains a few large objects:
- a Harrier jump-jet
- a Trabant car from East Germany
- a fire-fighting trailer pump used to fight fires during the World War Two blitz in Manchester
- a Soviet T34 tank from the Second World War
- the artillery piece that fired the first shell from the British side of World War One
The space contains six themed display areas:
- Experience of War
- Commonwealth and War
- Women and War
- Science and War
- Legacy of War
- Impressions of War
Two rather novel display cases are called TimeStacks.
These each contain a number of trays of somewhat smaller objects,
each tray of which is
brought forward upon the request of the viewer (i.e. sort-of like a small
automated warehouse of small objects).
About every fifteen to twenty minutes,
one of a series of "Big Picture" slide presentations with audio narration
appears on all of the walls of the Main Exhibitions Gallery.
The three rather dark photographs towards the end of this page were
taken during the "Big Picture" that deals with the impact of war on children.
These three photographs are derivative works of a (presumably) copyrighted work.
As derivative works, I feel comfortable placing my copyright on them.
Unfortunately, I'm going to have to guess that the original work is
"Copyright Imperial War Museum".
The last photograph is of a bust of interesting design in one of the exhibit
cases.
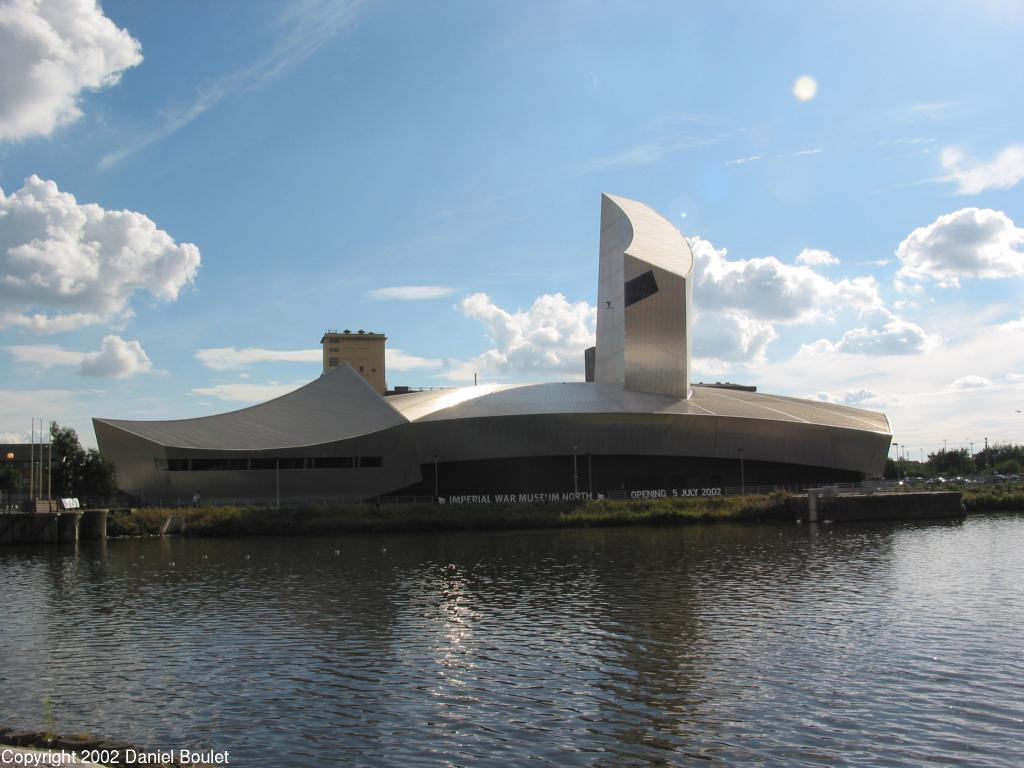
The Museum from the east.
The tower representing conflict in the air rises out of the shard
representing conflict on land.
The shard on the left represents conflict on water (the smaller tower
on the left is actually a building across the street from the museum).
The truly observant may notice that the shadows are different in this
photo than in the other exterior shots on this page.
The reason for the discrepancy is that this photo was taken a few hours
after the other photos.
|
|
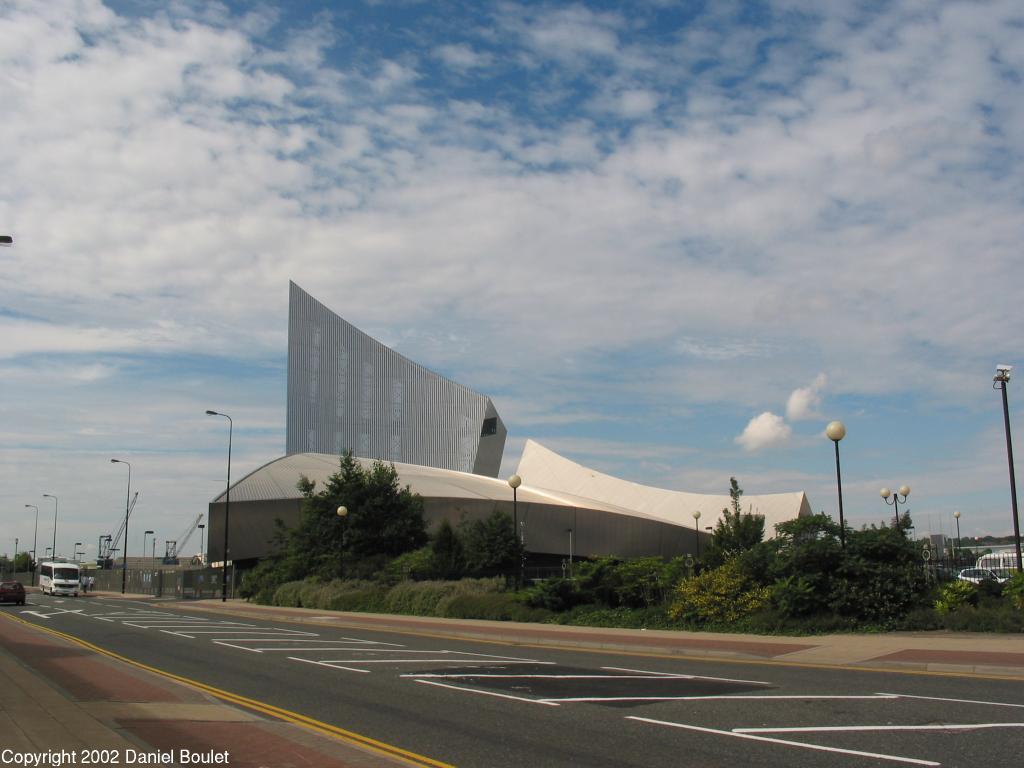
This photo was actually taken as I was leaving the Museum although
it is a reasonable approximation of my first view of the Museum.
|
|
The Museum as viewed from the north. The tall central section
is an almost entirely empty tower with a viewing platform
(see the darker horizontal element about two thirds up).
Unfortunately, the platform was closed on the day of my visit.
|
|
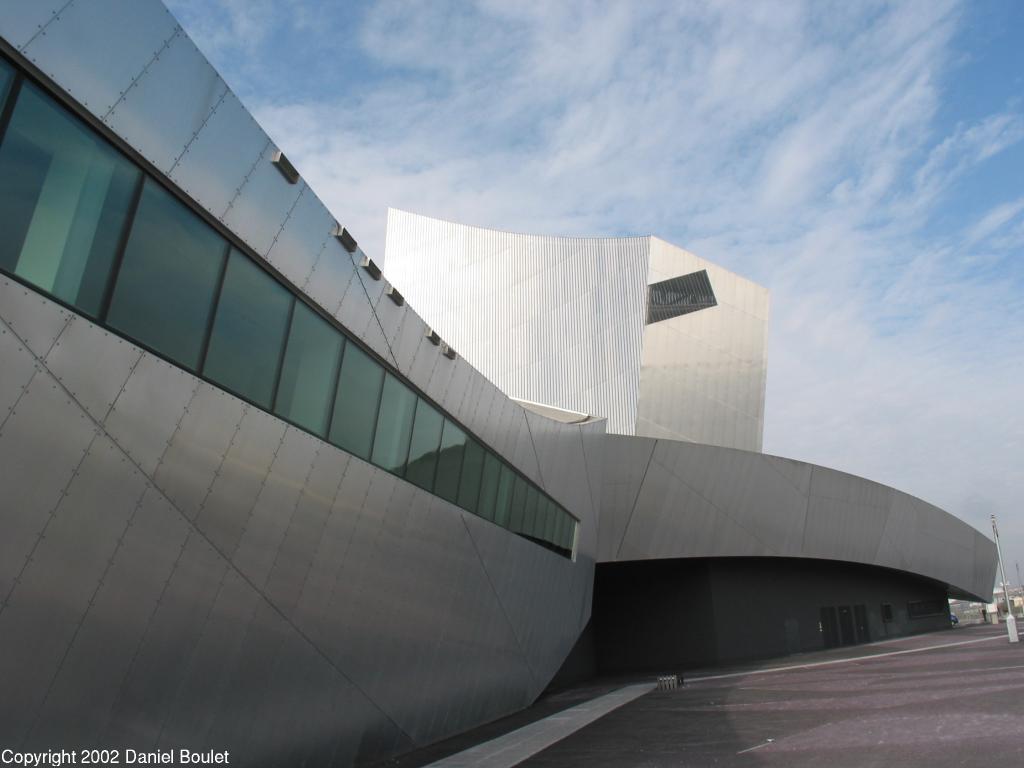
A shot taken from just outside the restaurant (the restaurant's windows
are visible in the "water shard" on the left).
Believe it or not, the restaurant's windows are parallel with the ground.
|
|
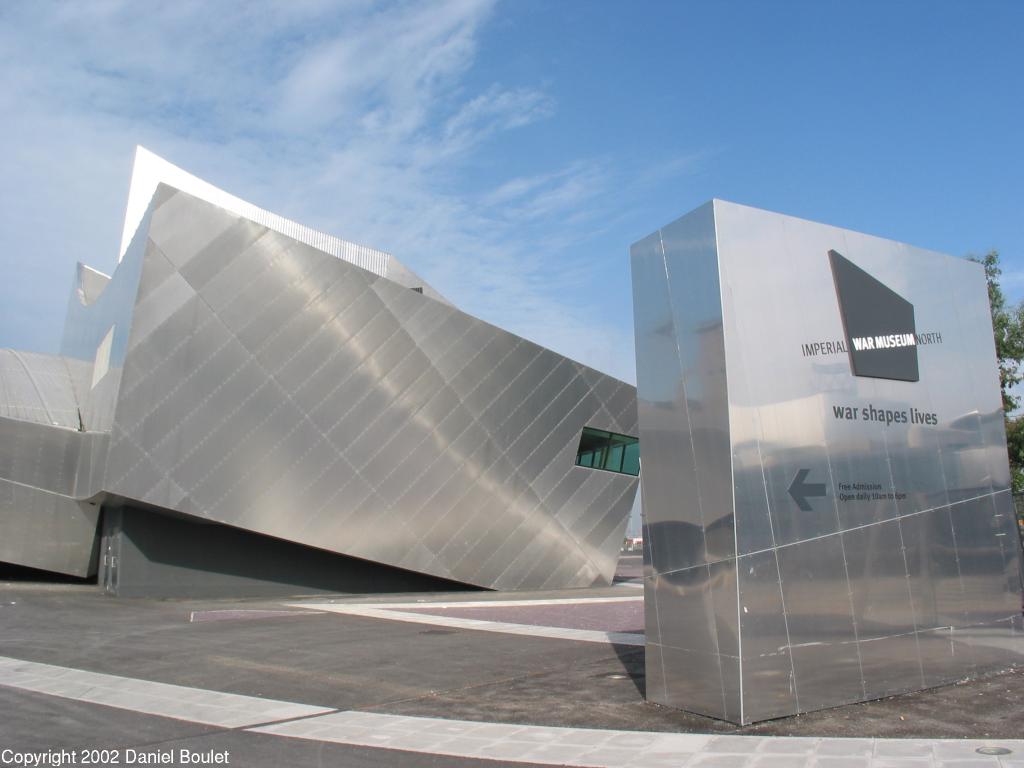
The Museum from the south
(the overlap in the photo between the sign on the right and the
restaurant was deliberate although obviously a mistake in hindsight).
|
|
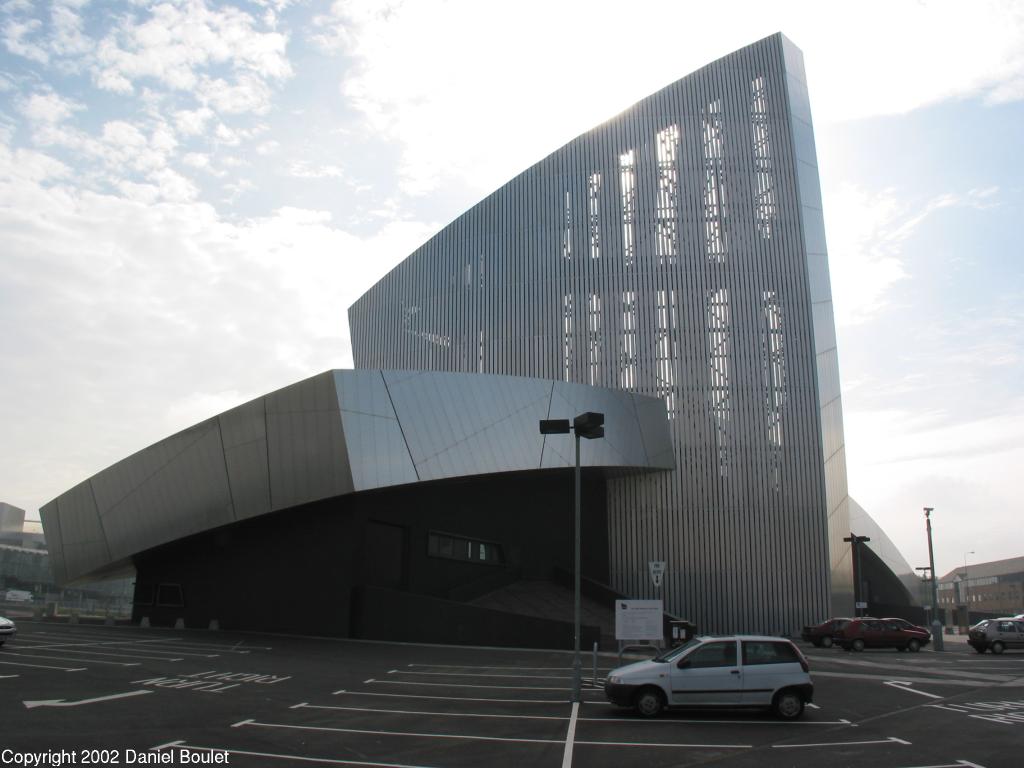
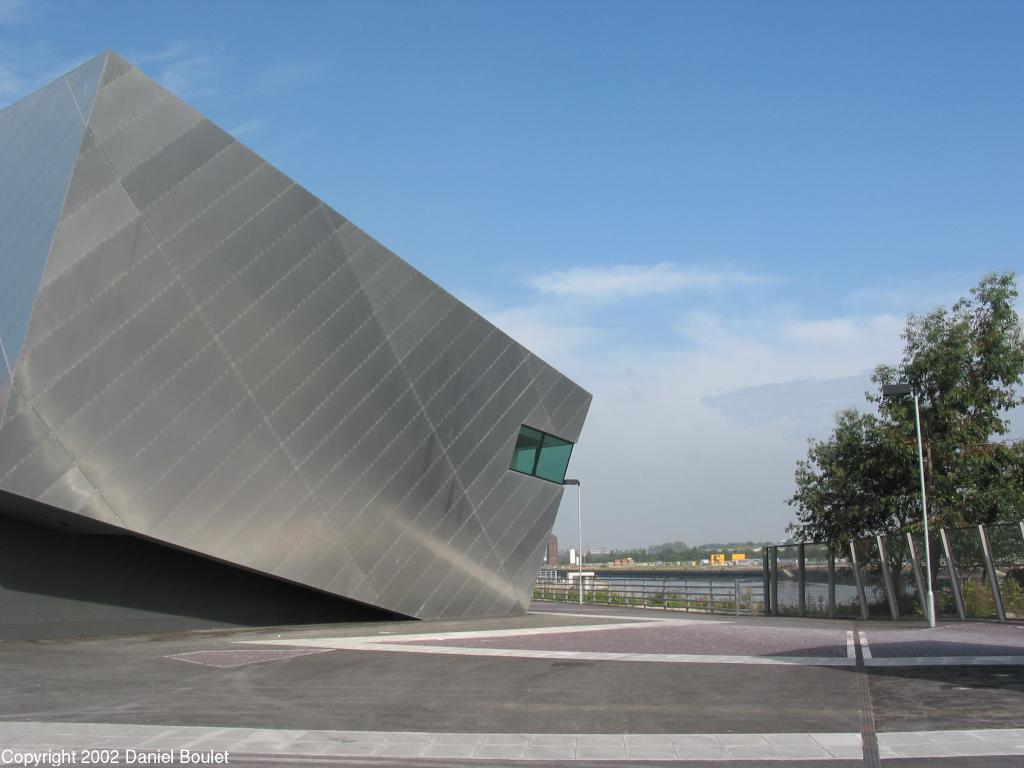
The "water shard" from the west south west.
Don't worry - all the floors are parallel to the ground!
|
|
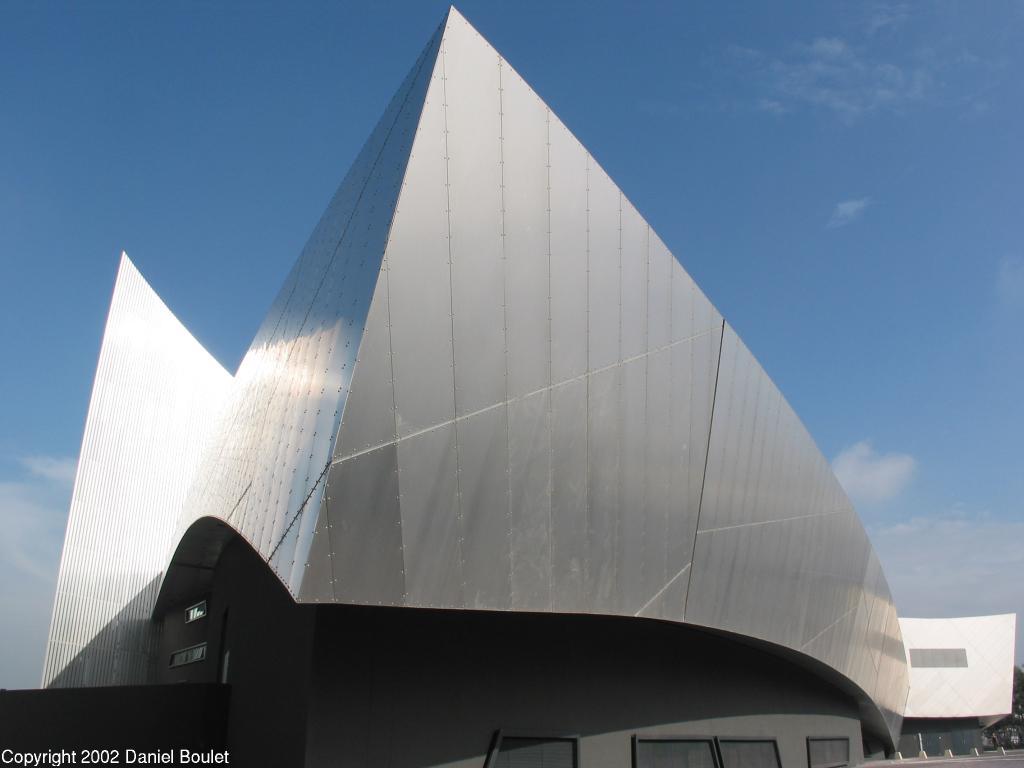
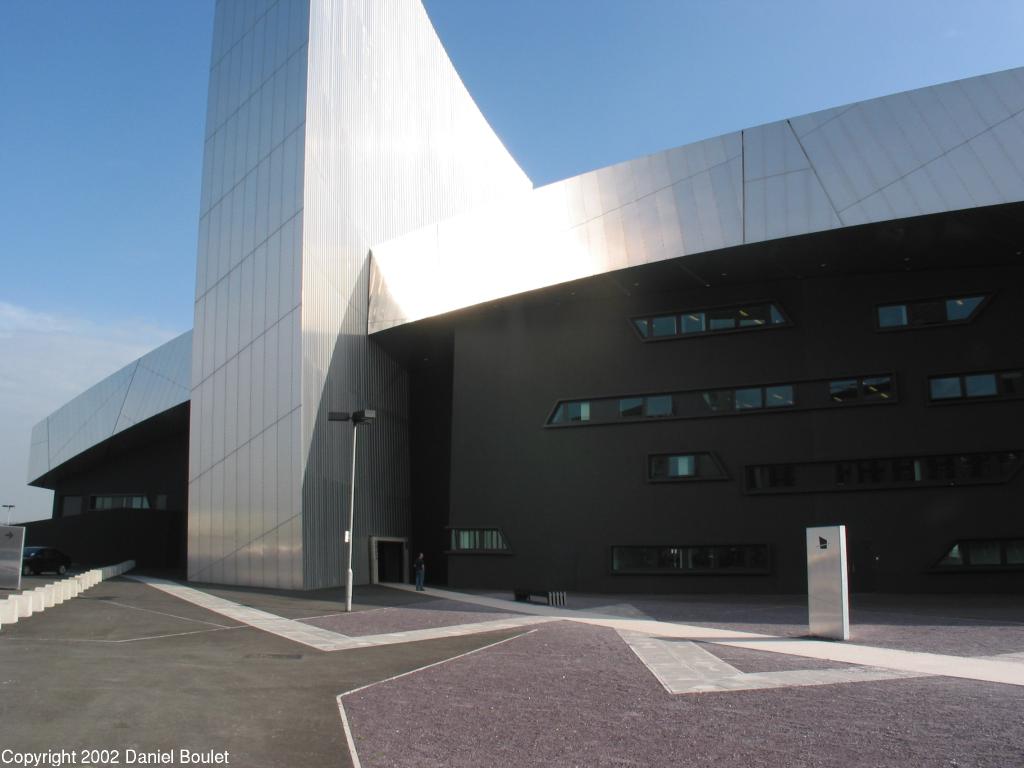
The "land shard" from the south west corner (using an extra wide angle
lens for effect).
The "air shard" tower is partially visible to the left and
the "water shard" is partially visible on the right.
|
|
The public entrance to the museum (the small door just to the right of the lamp post)
seems to deliberately emphasize just how much war overwhelms humans.
|
|
The first of three photos taken during the "Big Picture" dealing with
the impact of war on children.
This photo is of children trying to sleep in shelters during the Blitz.
These photos were all taken by turning off my flash and setting
the camera on the bench that I was sitting on.
Note the fire-fighting wagon in the foreground.
|
|
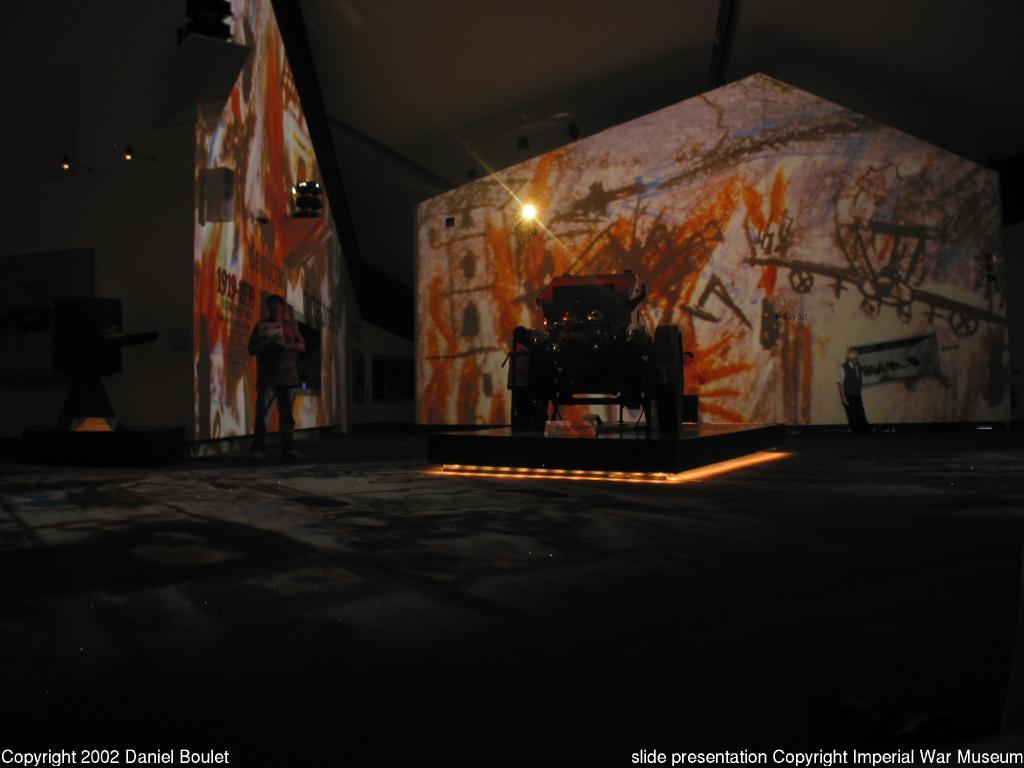
Children's drawings.
Note the fire-fighting wagon silhouetted by the images on the far
wall and the glare of the slide projector which was displaying a
similar drawing on me and the wall that I was sitting against.
|
|
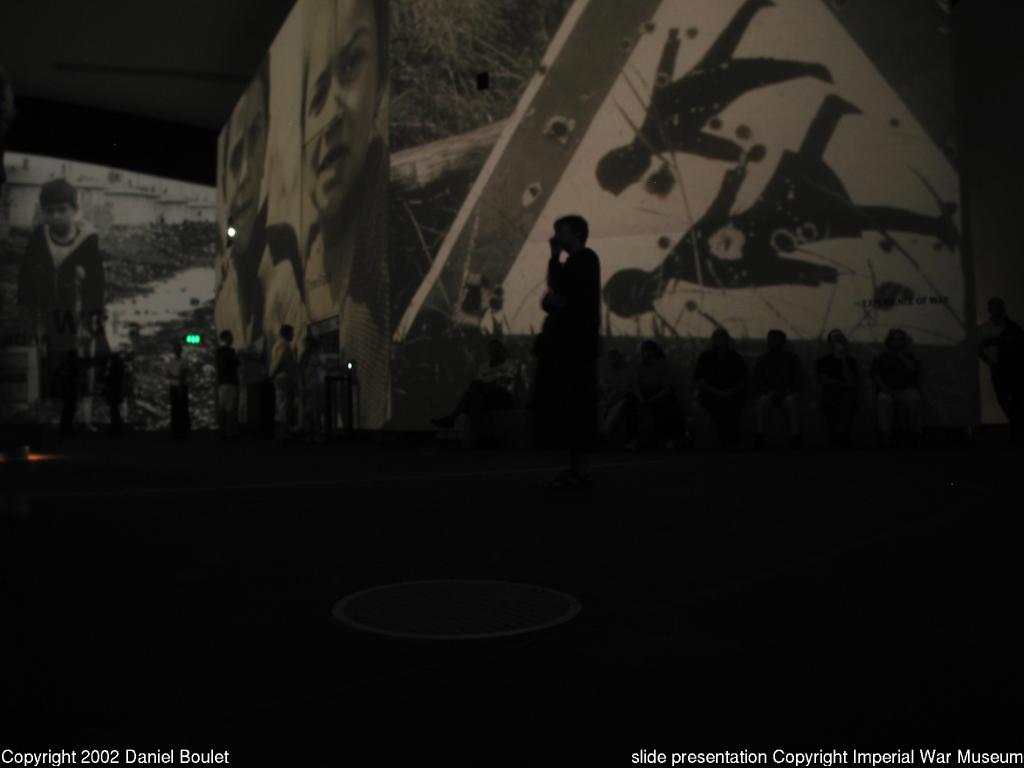
Children amongst the terror of war.
Note the person walking between me and the far wall (silhouetted
by the traffic sign).
The announcements leading up to each "Big Picture" encourage you to move
around during the presentation for maximum effect.
|
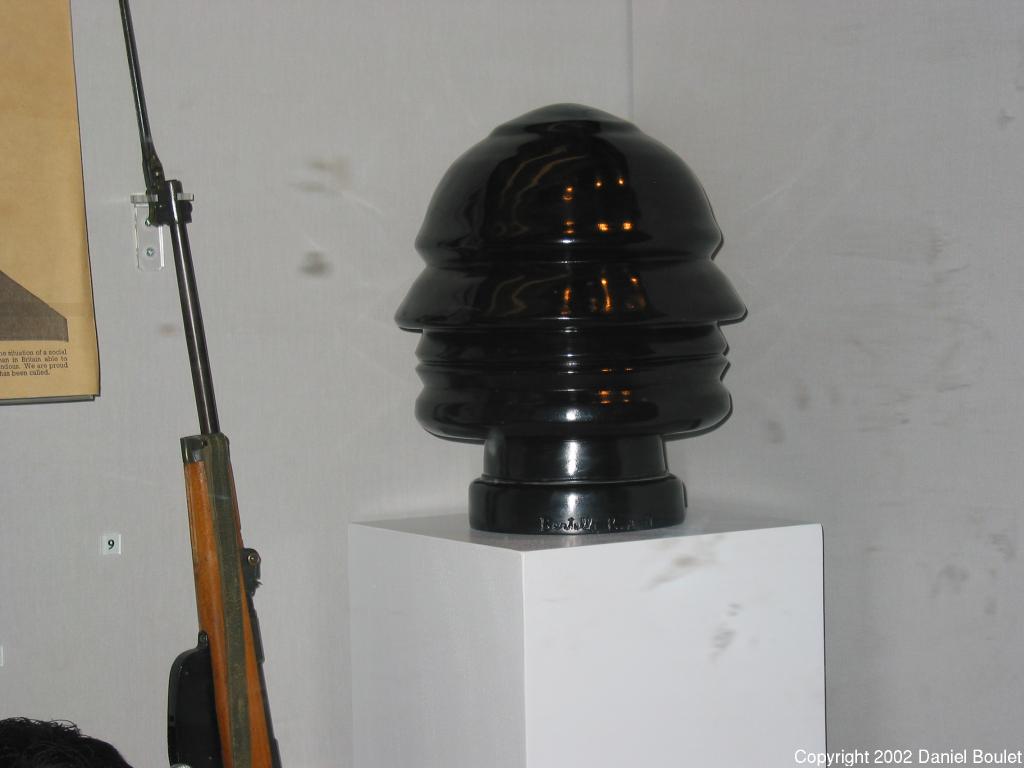
This is a bust by R.A. Bertelli of a prominent leader associated with
warfare during the 20th century.
The bust is symmetric in a circular sense (i.e. the appearance doesn't
change if you rotate the bust around the vertical axis by an arbitrary
number of degrees).
Do you recognize the subject?
Lookup "Bertelli" and "Imperial War Museum" on Google for the answer.
|
Daniel Boulet


http://www.bouletfermat.com/danny/iwmn.html